http://ceramicartsdaily.org/pottery-making-techniques/wheel-throwing-techniques/three-tips-for-throwing-smarter-and-stronger/
Monday, 6 May 2013
Throwing larger pots.
Some tips how to throw bigger pots, the tricks to center the clay.
http://ceramicartsdaily.org/pottery-making-techniques/wheel-throwing-techniques/three-tips-for-throwing-smarter-and-stronger/
Sunday, 5 May 2013
How to make ceramics ladle.
Found this nice video about making a ladle out of clay.
http://ceramicartsdaily.org/pottery-making-techniques/handbuilding-techniques/video-of-the-week-how-to-make-a-wheel-thrown-and-handbuilt-ladle/
Wednesday, 1 May 2013
May raku firings.
When it came to what techniques to use in finishing the ceramic pieces and glazing them there was no question, some of them had to be raku fired. It is beautiful way of decorating, giving your work kind of time worn look. Of course the surprise element is important as well, one never knows the final outcome.
Red earthenware and white stoneware clay. White raku crackle glaze.
The red clay is almost invisible under the glaze.
The blue bowl: used white stoneware clay covered with light blue crackle glaze.
Lovely outcome.
White and red bowl: red earthenware, white stoneware clay. Glaze: turquoise transparent crackle glaze.
Female figure.
Red earthenware clay, turquoise transparent crackle glaze.
1st of May.
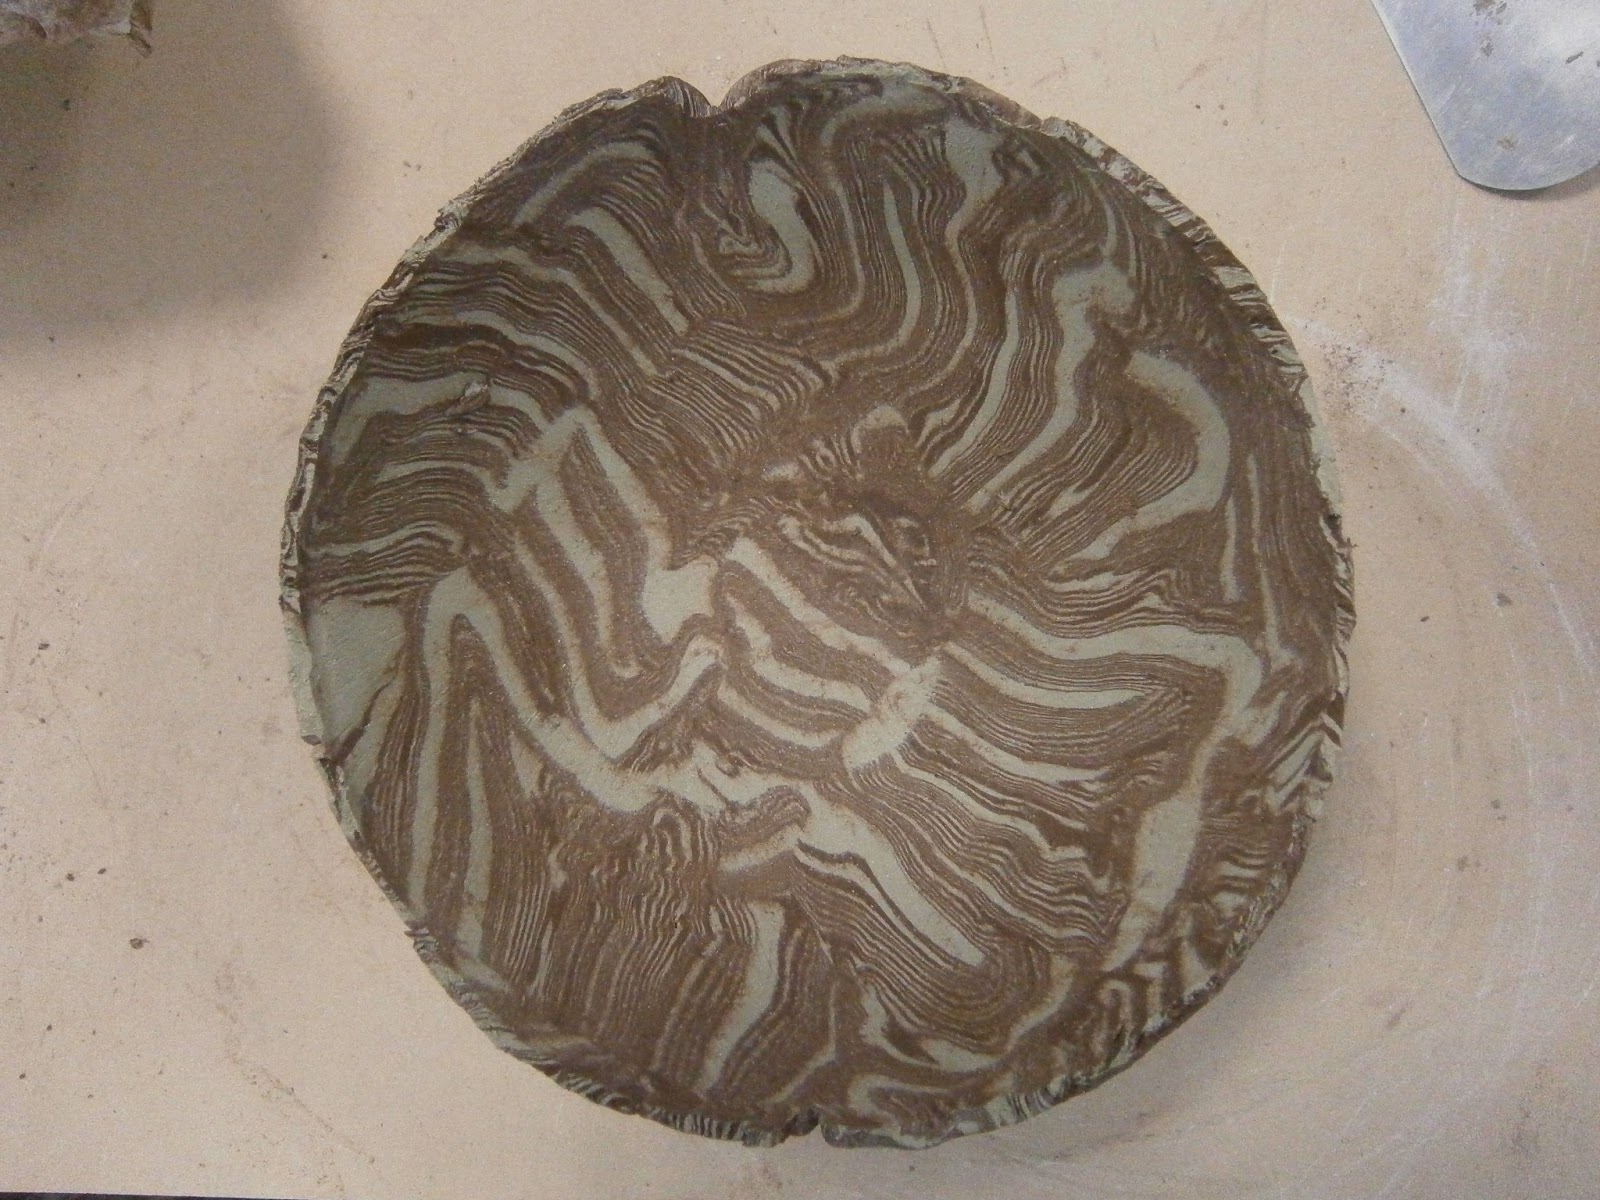
I have been trying out mixing different types of clay's to experiment on how they fit together and what kind of pattern movements come out. So far it has been very rewarding. The layers have somewhat life on their own.
End of last week I got a great opportunity to work with porcelain clay and professional black chunky sculpture clay. The work is inspired by Rafa Perez experiments with different clay's. The black clay is supposed to start bulging and pressing out the cracks as it has very low shrinkage, whilst the porcelain shrinks and warps between and around it. They are both high firing clay's.
Found this webpage looking for porcelain shrinkage proscentage. It is very smooth clay that is stiff out of bag but turns into very plastic once wedged. It is fired up to 1220 to 1280 degrees. It is not suitable for casting.
Proffessional black chunky crank sculpture clay fires from 1180 to1260 degrees.
CTM Potters supplies
http://www.ctmpotterssupplies.co.uk/New_Folder/WebCTMclayandglossary.pdf
Here are some of my pieces.
End of last week I got a great opportunity to work with porcelain clay and professional black chunky sculpture clay. The work is inspired by Rafa Perez experiments with different clay's. The black clay is supposed to start bulging and pressing out the cracks as it has very low shrinkage, whilst the porcelain shrinks and warps between and around it. They are both high firing clay's.
Found this webpage looking for porcelain shrinkage proscentage. It is very smooth clay that is stiff out of bag but turns into very plastic once wedged. It is fired up to 1220 to 1280 degrees. It is not suitable for casting.
Proffessional black chunky crank sculpture clay fires from 1180 to1260 degrees.
CTM Potters supplies
http://www.ctmpotterssupplies.co.uk/New_Folder/WebCTMclayandglossary.pdf
Here are some of my pieces.
Before getting my hands on the black an porcelain clay, made some experiments with paper and watered down glue.
The different clay needs to be wedged and rolled out on different surfaces not to contaminate them too much. I used the making clay slab by tossing it to the flat surface, method. I cut the piece in half and carefully laid them onto each other as seen below. Every time doing that you have to slap the air bubbles out from between 2 lairs slapping the clay by hand from the middle towards to the sides.
I cut out even strips and placed them on a piece of strong fabric so I could have support to manipulate them.
I rolled out a piece of porcelain and turned it around a stick. Then wrapped the layered clay strips around it. Lets see what happens to it once fired on high temperature.
Some smaller try outs.
This little guy went into regular bisc firing and as seen on this photograph, not much happened to it except for some color change. The black clay looks very dark red to begin with.
All my plates and bowls are starting to come out now from bisque firing and they surprise me. Each and every one of them have their lovely earthy colors and as I hoped for orange is the main tone as the full of iron earth.
Here is one of the bowls that I made out of black clay. The color changed some in the bisque firing but I put it in again to see what happens if it gets to the real intended temp.
Packing the kiln.
Color difference, black chunky sculpture clay before and after regular bisque firing.
Tuesday, 30 April 2013
Could be interesting.
I got sent this as an add but what they are talking about seems quite interesting.
http://ceramicartsdaily.org/bookstore/slab-techniques/
Sunday, 28 April 2013
Closer to the end of the school year.
I got so excited making this big plate that reason flew out the window. I really should of put the lighter red clay in the middle to avoid the splitting due to different shrinking. Nothing to do now but wait and hope that I get lucky.
I am quite pleased how this slump mold bowl has turned out. I actually really love the color that it is now but the light terracotta that will come out once it has fired is lovely too. Placing the patterned slabs in in different directions makes the pattern more random. Happy with that. I'll leave the outer side not scraped so one can see the hidden beauty. Once you peel back hazy everyday muck, the real thing in all it's beauty comes alive.
My twin bowls. They are cut from the same slab of marbled clay. I must say my shoulders were well sore after kneading that patch. I can feel the earth looking at these pieces. It was such a pleasure making them.
The spoons are complimenting the bowls nicely and it was a great way to use up some leftover pieces.
Spoonrests finally out of the kiln. It is always a lovely surprise to see how the products come out in the end. Kind of makes you not be so experienced that you are sure about outcome. Then again I have feeling that with ceramics I will always have that surprise/ giddy moment when opening the kiln.
Some try outs for raw glazing.
These little guys are called cones. They are used to measure heat inside of the kiln.
The cones are made of different clay and melt on certain temperature. This is one accurate way to insure that you know both bottom and top shelf heat.
My variation of spoon rests. Well they are actually plates :)
Saturday, 20 April 2013
Sally Rogers
Sally rogers studied at first to be a ceramist whilst. She took interest in glass blowing and glass casting. She ended up combining both in her sculptural work using also metal. She is a talented mixed media artist who is not afraid to use different materials together.
http://sallyrogers.net/biography.php
Ceramic pieces
Very elegant work in glass.
Stainless steel and granite ''Zygos''
Subscribe to:
Posts (Atom)


