I got sent this as an add but what they are talking about seems quite interesting.
http://ceramicartsdaily.org/bookstore/slab-techniques/
Tuesday, 30 April 2013
Sunday, 28 April 2013
Closer to the end of the school year.
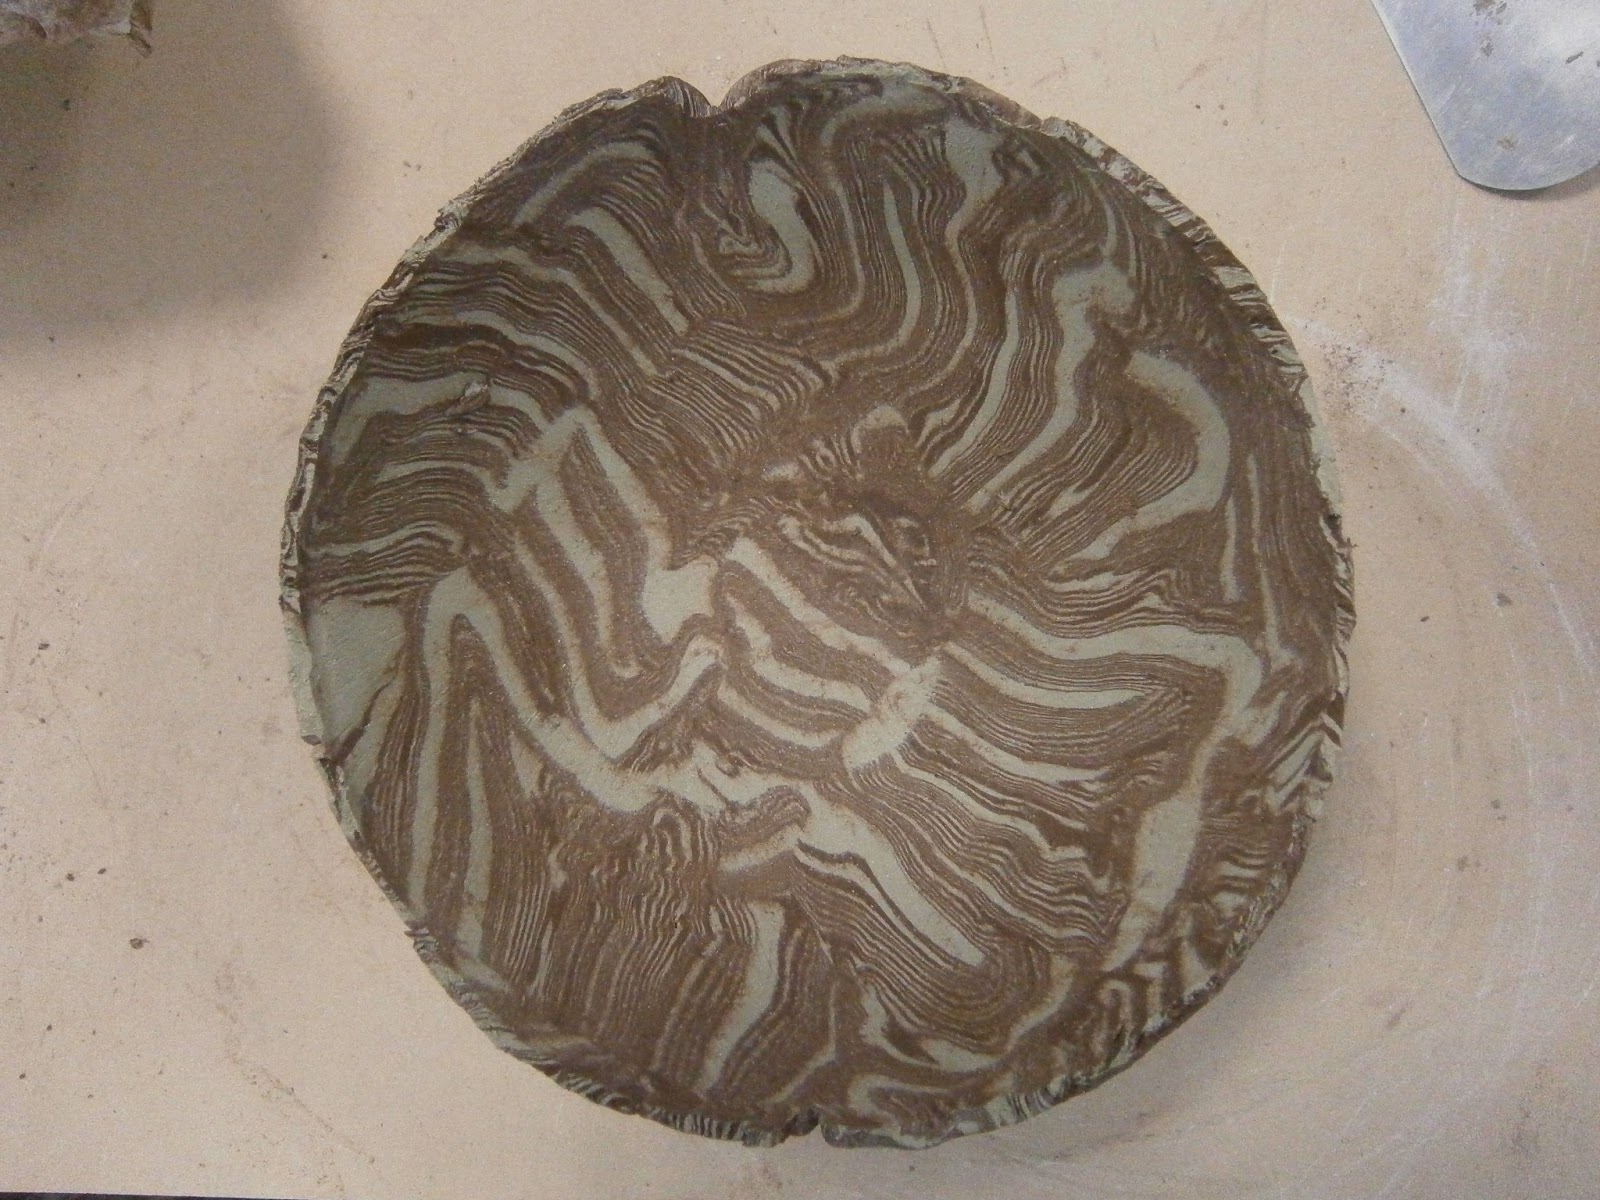
I got so excited making this big plate that reason flew out the window. I really should of put the lighter red clay in the middle to avoid the splitting due to different shrinking. Nothing to do now but wait and hope that I get lucky.


I am quite pleased how this slump mold bowl has turned out. I actually really love the color that it is now but the light terracotta that will come out once it has fired is lovely too. Placing the patterned slabs in in different directions makes the pattern more random. Happy with that. I'll leave the outer side not scraped so one can see the hidden beauty. Once you peel back hazy everyday muck, the real thing in all it's beauty comes alive.


My twin bowls. They are cut from the same slab of marbled clay. I must say my shoulders were well sore after kneading that patch. I can feel the earth looking at these pieces. It was such a pleasure making them.


The spoons are complimenting the bowls nicely and it was a great way to use up some leftover pieces.

Spoonrests finally out of the kiln. It is always a lovely surprise to see how the products come out in the end. Kind of makes you not be so experienced that you are sure about outcome. Then again I have feeling that with ceramics I will always have that surprise/ giddy moment when opening the kiln.

Some try outs for raw glazing.

These little guys are called cones. They are used to measure heat inside of the kiln.
The cones are made of different clay and melt on certain temperature. This is one accurate way to insure that you know both bottom and top shelf heat.

My variation of spoon rests. Well they are actually plates :)

Saturday, 20 April 2013
Sally Rogers
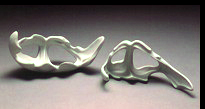
Sally rogers studied at first to be a ceramist whilst. She took interest in glass blowing and glass casting. She ended up combining both in her sculptural work using also metal. She is a talented mixed media artist who is not afraid to use different materials together.
http://sallyrogers.net/biography.php
Ceramic pieces
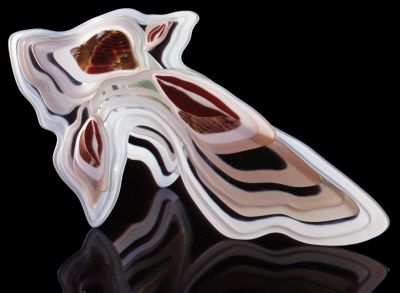
Very elegant work in glass.
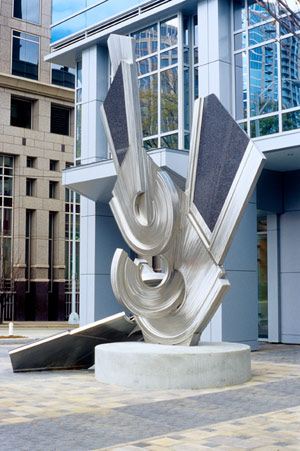
Stainless steel and granite ''Zygos''
Thursday, 18 April 2013
More layers and marbling.


Not sure whether to add raised legs to it or leave it just with pressed bottom.

Making marbled clay.


Hump mold bowl.

Spoons to go with the spoon rests made with Josie Walter.

Slump press mold marbled bowl, made by adding slabs.

Made two plates inspired by the spoon rests.

Making a plate with no mold.
Today we learned how to make a nicely shaped plate with no cast mold.

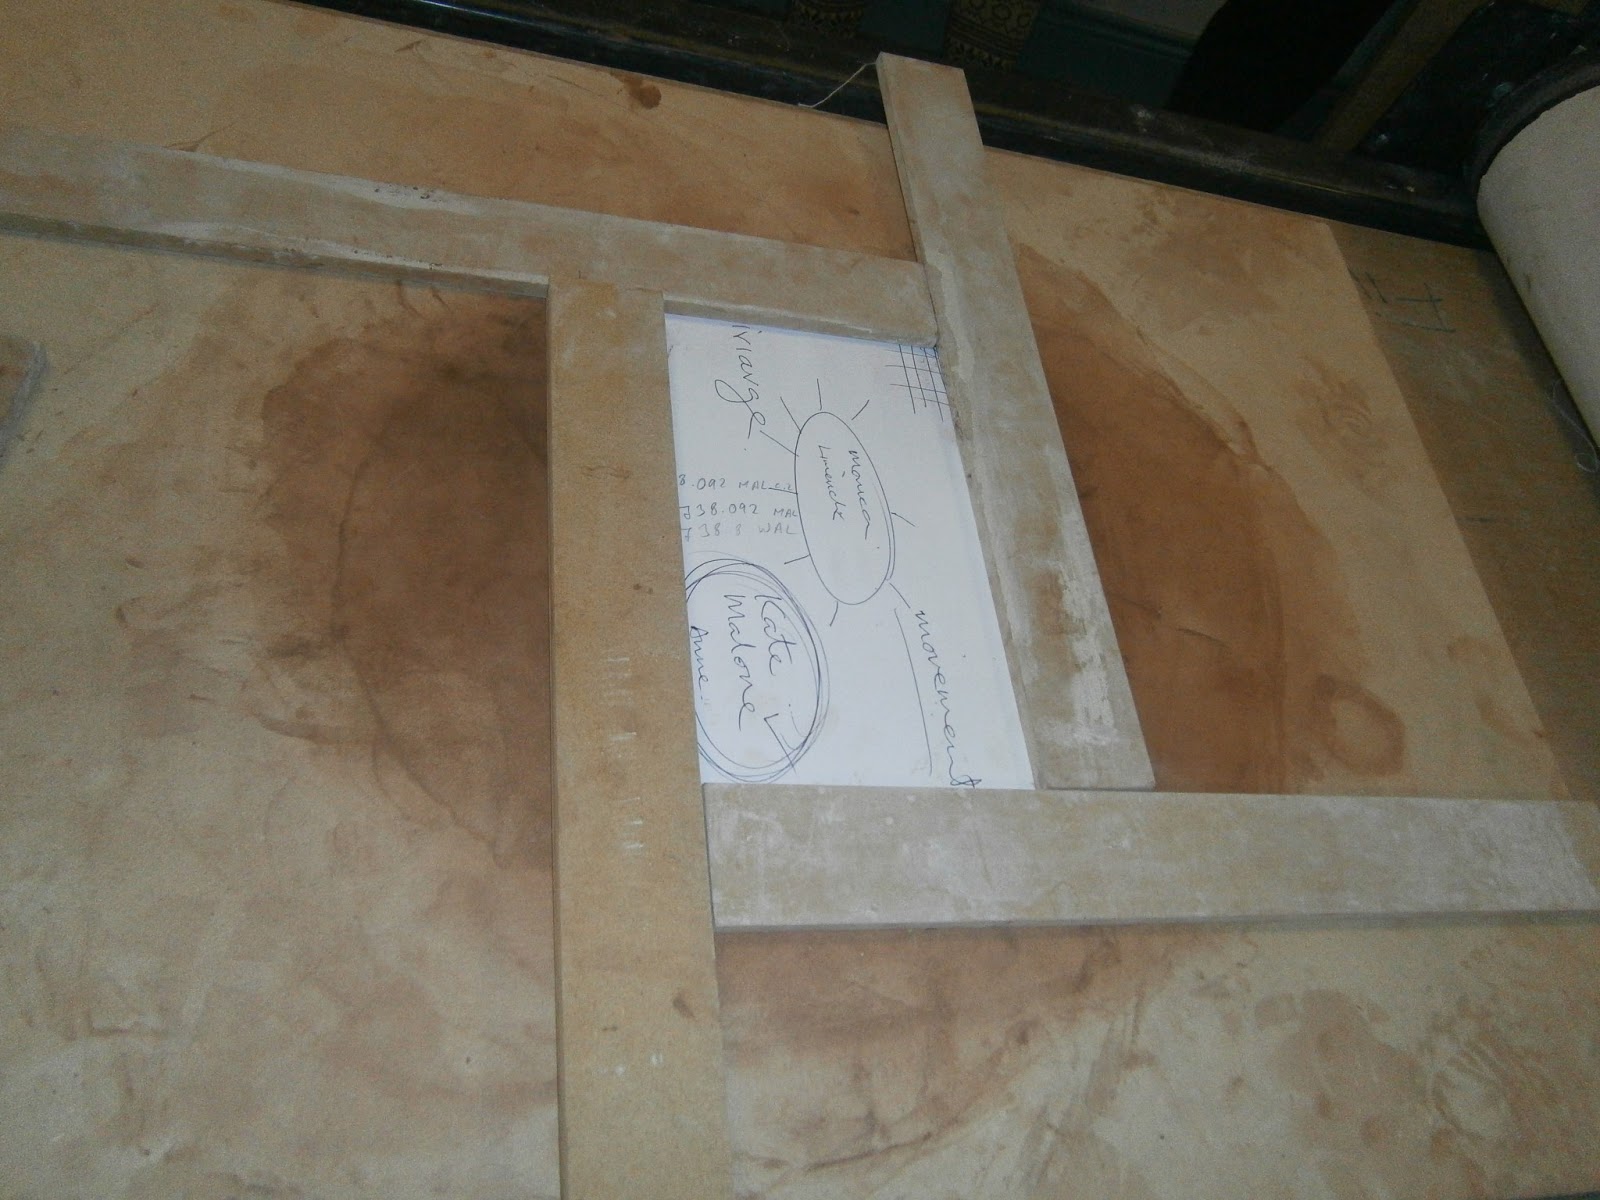


Roll out required size piece of clay.
Build a frame leaving enough room for the clay to cover the sides of it.
Use a strong piece of cloth to lift the slab. Two people needed to coordinate their moves to slap the clay down with some force simultaneously.
At this point one could use a sock or some other piece of fabric filled with grit to pad the clay down even more to get steeper curve.
If you want to use slip to scratch into, it would be suggested to apply it before using this technique when the slab is still flat.
This kind of shaping leaves possibilities for adding clay details also to the top part of the plate which hump mold would not be suited for.
Singing pottery.
http://www.youtube.com/watch?feature=endscreen&v=2LhMu7XwxVw&NR=1
Musical instruments made out of clay. Very intriguing.
Musical instruments made out of clay. Very intriguing.
Out of the kiln.
Fresh out of the kiln and ready to get their glazes on.


The pattern on this plate brings me back to the plane when I saw the inspiring view of salt lakes close to Perth.

Raw firing spoon rests.


Some techniques. Paper clay making.
Tear toilet tissue into pieces and leave soaking over night.
Once they have turned into sour milk kind of mix blend well to separate even more.

Use thin fabric to siv out fistfuls of paper porridge.


To prepare the clay you have to break tiny thumb size pieces of dry clay into water and let soak over night again. Use blender to mix well.
Crumble small pieces of paper into the clay mix and blend in from time to time.
Do not mix clay slip and paper together if you want to start using it further in the future as it may start stinking.


Subscribe to:
Posts (Atom)